Water damage in basements is a common problem for homeowners. Leaks, damp walls, and mold growth can cause serious damage if not handled properly. That’s why waterproofing inside basement is essential to protect your home and maintain a safe living environment. In this guide, we will explain how to do basement inside waterproofing correctly, step by step, using proven methods.
Why Waterproofing Inside Basement is Important
Basements are prone to water seepage because they are below ground level. Rainwater, groundwater, and plumbing leaks can cause moisture to penetrate the walls and floors. Over time, this moisture can:
- Damage walls and floors
- Promote mold and mildew growth
- Cause unpleasant odors
- Reduce the value of your property
Proper waterproofing inside basement ensures that your basement remains dry, healthy, and safe. It is also a cost-effective solution compared to repairing water damage later.
Signs Your Basement Needs Waterproofing
Before starting, it is important to check if your basement really needs waterproofing. Look for these common signs:
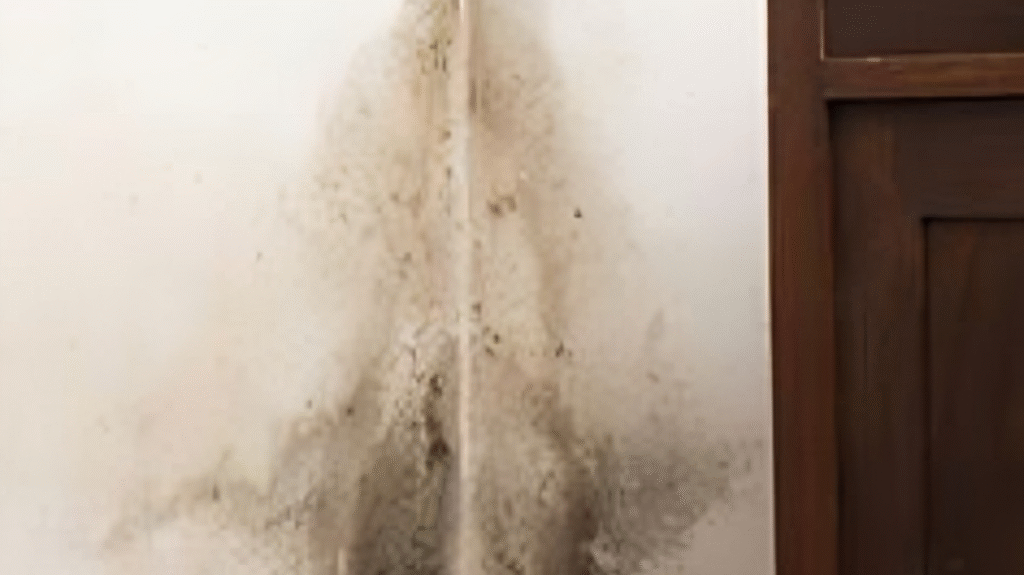
- Damp or wet walls – Moisture stains or dark spots on walls indicate water seepage.
- Musty smell – Persistent odors are a sign of mold and mildew.
- Cracks in walls or floors – Small cracks can allow water to enter the basement.
- Peeling paint or wallpaper – Water can make paint or wallpaper bubble and peel.
- Pooling water – Water accumulation in corners or near walls is a clear warning.
If you notice any of these signs, it’s time to take action with waterproofing inside basement from walls.
Tools and Materials Needed
Before starting the waterproofing inside basement process, gather the following tools and materials:
- Waterproofing sealant or paint
- Concrete patch or hydraulic cement
- Wire brush
- Putty knife or trowel
- Sandpaper
- Gloves and safety goggles
- Paint roller or brush
- Dehumidifier (optional)
Having the right materials ensures that the job is done efficiently and lasts longer.
Step-by-Step Guide to Waterproofing Inside Basement
Step 1: Clean the Basement Walls
Start by removing dirt, dust, and debris from the walls. Use a wire brush to scrub off loose concrete or peeling paint. Cleaning the walls thoroughly helps the waterproofing material adhere properly.
Step 2: Inspect and Repair Cracks
Check for cracks in walls or floors. Use concrete patch or hydraulic cement to fill any gaps. For hairline cracks, sealants may be sufficient. Proper repair ensures that water does not seep through weak points.
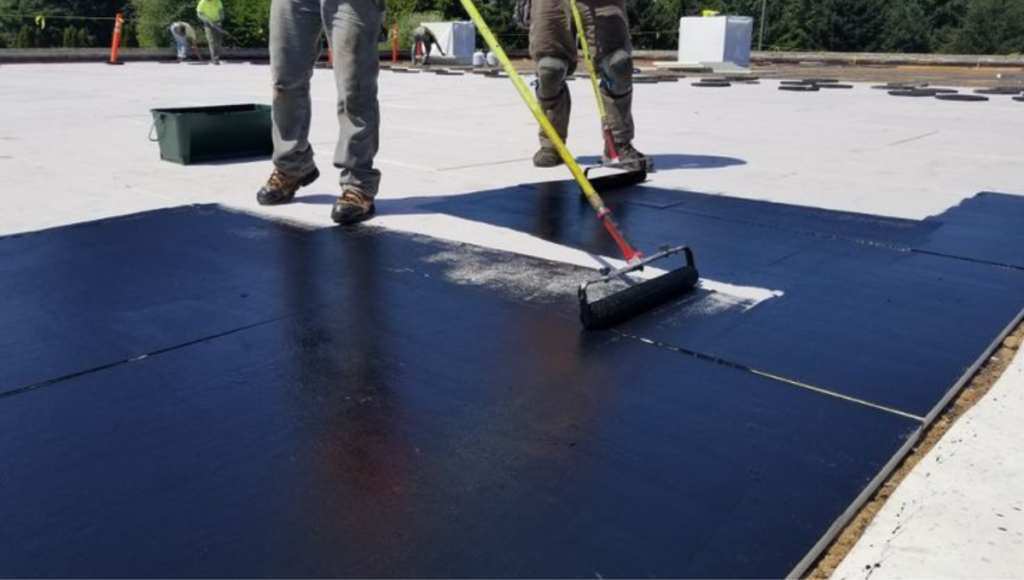
Step 3: Apply Waterproofing Sealant
Once the walls are clean and cracks are repaired, apply a high-quality waterproofing sealant or paint. Use a roller or brush to cover all areas evenly. Pay extra attention to corners and joints where water can easily penetrate.
Step 4: Consider a Drainage System (Optional)
In basements with severe water issues, installing an interior drainage system may be necessary. This system collects water and directs it to a sump pump, keeping the basement dry even during heavy rainfall.
Step 5: Apply a Second Coat
For best results, apply a second coat of waterproofing paint after the first layer dries completely. This creates a stronger barrier against moisture.
Step 6: Keep the Basement Dry
After waterproofing, ensure proper ventilation and use a dehumidifier if necessary. Reducing humidity prevents mold growth and prolongs the life of the waterproofing layer.
Tips for Effective Waterproofing Inside Basement
- Choose the Right Product: Look for waterproofing materials specifically designed for basement walls. Some sealants are better for porous concrete, while others work well for painted surfaces.
- Follow Manufacturer Instructions: Always read the instructions on your waterproofing product to ensure proper application and drying times.
- Regular Maintenance: Inspect your basement periodically for cracks or peeling paint. Timely maintenance keeps your waterproofing effective.
- Control External Water: Make sure gutters, downspouts, and landscaping direct water away from your home. Exterior water control complements interior waterproofing efforts.
- Professional Help: For persistent water problems, hiring a professional can save time and prevent costly mistakes.
Benefits of Waterproofing Inside Basement
Proper waterproofing inside basement offers several advantages:
- Prevents Water Damage: Keeps walls, floors, and stored items safe from water.
- Improves Air Quality: Reduces mold and mildew, creating a healthier environment.
- Increases Property Value: A dry, safe basement adds value to your home.
- Saves Money: Avoids expensive repairs caused by water infiltration.
By following the correct procedures, your basement will remain dry and secure for years.
Common Mistakes to Avoid
- Ignoring Small Cracks: Even tiny cracks can lead to significant water problems. Always repair them.
- Using Low-Quality Products: Cheap waterproofing products may not last and can fail under pressure.
- Skipping Wall Preparation: Proper cleaning and patching are crucial for a lasting waterproofing solution.
- Neglecting Humidity Control: Even after waterproofing, high humidity can cause mold. Use a dehumidifier or ventilation system.
Avoiding these mistakes ensures that your waterproofing inside basement works effectively.
How Inside Waterproofing Complements Exterior Methods
While inside waterproofing focuses on walls and floors, exterior waterproofing addresses water before it reaches the basement. Combining both methods provides maximum protection. Exterior waterproofing includes:
- Installing proper drainage around the foundation
- Applying waterproof coatings on outside walls
- Slope grading to direct water away from the house
Together, inside and outside waterproofing create a comprehensive solution to keep your basement dry.
DIY vs Professional Waterproofing
DIY waterproofing is suitable for minor leaks and small basements. It is cost-effective and can be done with basic tools. However, for severe water problems or large basements, professional services offer:
- Expert assessment of water entry points
- High quality materials and techniques
- Long-lasting results
- Guaranteed protection
Consider your basement condition before deciding on DIY or professional services.
Conclusion
Waterproofing your basement is not just about protecting walls; it’s about safeguarding your home and health. Proper waterproofing inside basement ensures dry walls, prevents mold, and maintains a safe living space. By following the steps outlined in this guide cleaning, repairing cracks, applying sealants, and maintaining dryness—you can achieve effective results. Regular inspections and preventive measures further ensure that your basement remains safe for years.
For homeowners looking for professional-grade solutions and guidance on basement inside waterproofing, visit LibertyGCNY for expert advice and services. Protect your home today and enjoy a dry, safe basement tomorrow.
Contact Us
Website: www.libertygcny.com
Phone: (347) 682-9840
Serving: Manhattan, Brooklyn, Queens, The Bronx, Westchester County, and Long Island.
Address:110-14 178th St, Jamaica, NY