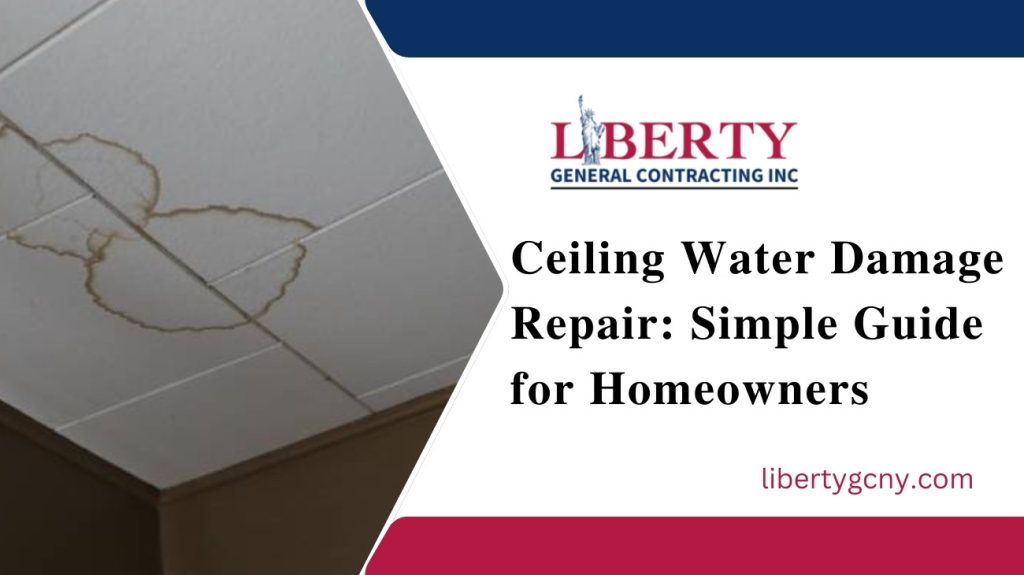
Ceiling water damage is something many homeowners face at least once, and it can be very stressful. It not only affects the beauty of your home but also damages the structure, causes bad odor, and leads to health issues if not treated on time. The good news is that ceiling water damage repair can be done in a simple and effective way when you understand the right steps.
This complete guide will help you learn what causes ceiling water damage, how to repair it, the tools you need, when you can fix it yourself, and when you must call a professional. Everything is explained in easy and human-friendly language, so even a new homeowner can understand and fix the problem with confidence.
What Is Ceiling Water Damage?
Ceiling water damage happens when water leaks into the ceiling and starts damaging the surface. This water can come from different sources like your roof, plumbing pipes, bathroom, or AC unit. If the ceiling remains wet for long, it starts to develop stains, cracks, bubbling paint, mold, or sagging.
Common signs of ceiling water damage include:
- Brown or yellowish stains on the ceiling
- Bubbling or peeling paint
- Soft or sagging ceiling panels
- Musty smell or mold growth
- Water dripping through the ceiling
If you notice any of these signs, do not wait. Water damage spreads fast and becomes more expensive to repair later.
What Causes Ceiling Water Damage?
To fix the ceiling properly, you first need to understand what caused the damage. Without solving the root cause, the problem will return even after repair.
Here are the most common causes:
1. Roof Leaks
A damaged, old, or cracked roof lets rainwater enter the ceiling. Missing roof shingles, damaged flashing, or blocked gutters are usually the reason.
2. Bathroom Leaks
If your bathroom is located above the damaged ceiling, the leak might be coming from the bathtub, sink, shower, or toilet.
3. Faulty Plumbing Pipes
Pipes inside the ceiling can leak due to corrosion, loose connections, or pressure build-up. These leaks cause hidden damage over time.
4. Air Conditioner Leakage
An AC unit can collect moisture, and if the drainage line gets blocked, water starts dripping into the ceiling.
5. Humidity & Poor Ventilation
In rooms like kitchens and bathrooms, steam collects on the ceiling, causing moisture, mold, and peeling paint if there is no good ventilation.
Why You Should Never Ignore Ceiling Water Damage Repair
Some people see a small stain and think it will dry on its own. But ignoring ceiling water damage can lead to serious problems:
- It Spreads Fast
Water travels and damages a larger area within days.
- Mold Growth
Mold grows within 24–48 hours of moisture and can affect breathing, skin, and overall health.
- Higher Repair Cost
A small fix today is cheaper than repairing a fully damaged ceiling later.
- Electrical Risk
Water near lights or wiring can cause short circuits and fire hazards.
Ignoring the issue can make your home unsafe, unhealthy, and more expensive to repair.
Step-by-Step Guide for Ceiling Water Damage Repair
Now that you understand the causes and risks, let’s look at how to fix the ceiling damage in a simple and organized way.
Step 1: Find and Stop the Water Source
Before repairing, stop the leak.
- If the roof is leaking, add a temporary cover or call a roofer.
- If the leak is from a pipe, turn off the water supply.
- If AC is leaking, clean or fix the drain line.
Never repair a wet ceiling. First, stop the water source.
Step 2: Dry the Damaged Area Completely
Use fans, open windows, or a dehumidifier to dry the ceiling. This prevents the growth of mold and helps the repair material stick properly.
Step 3: Remove Damaged Ceiling Material
If the ceiling looks swollen, soft, or moldy, gently cut out the damaged portion using a utility knife. Remove any loose paint, broken plaster, or wet drywall.
Step 4: Clean and Treat Mold (If Needed)
If you see mold, clean the area using a mixture of water and mild bleach or vinegar. Mold is harmful, so wear gloves and a mask while cleaning.
Step 5: Repair or Patch the Ceiling
Now patch the area you removed:
- Fit a new drywall piece if the hole is large
- Use joint compound to seal the edges
- Let it dry, then sand the surface to make it smooth
Step 6: Prime and Paint
Always apply a stain-blocking primer before painting. This prevents the brown stain from coming back through the paint. Once the primer dries, paint the ceiling to match the rest of the room.
Tools & Materials Needed for Ceiling Water Damage Repair
Here is a simple list of what you may need:
| Tools/Materials | Why You Need It |
| Utility Knife | Cut damaged ceiling parts |
| Scraper | Remove paint and smooth surface |
| Drywall Patch | To repair cut-out section |
| Joint Compound | To seal and smooth the patch |
| Sandpaper | To level the patched area |
| Bleach/Vinegar | To treat mold |
| Primer & Paint | For finishing look |
| Mask & Gloves | Safety during repair |
DIY or Hire a Professional?
Some repairs are easy to do yourself, but for major damage, a professional is necessary.
You can DIY if:
- Damage is small and only surface-level
- You only need to repaint or patch a small area
Call a professional if:
- Ceiling is sagging or may collapse
- Mold covers a wide area
- You cannot find the leak source
- Electrical fixtures are affected
A professional ensures long-lasting repair, correct treatment, and safety.
Cost of Ceiling Water Damage Repair
The cost depends on how serious the damage is and where it is located.
- Minor stain & patch repair → Low cost
- Medium damage with drywall replacement → Moderate cost
- Major damage with mold removal & plumbing or roof repair → Higher cost
Fixing the issue early helps you save money and protect your home.
How to Prevent Future Ceiling Water Damage
Prevention is always better than repair. Here are simple habits to avoid future problems:
- Check your roof and gutters twice a year
- Fix plumbing leaks as soon as they appear
- Clean AC drain lines before summer
- Use exhaust fans in bathroom and kitchen
- Improve ventilation to reduce moisture
- Don’t ignore small ceiling spots or stains
With regular maintenance, your ceiling will stay safe, clean, and damage-free.
Final Thoughts
Ceiling water damage can be scary, but repairing it becomes easy when you know the right steps. The most important part of ceiling water damage repair is stopping the source of the leak, drying the area properly, removing damaged material, patching it correctly, and then priming and painting to restore the beauty of your ceiling.
Fixing it early protects your home, your health, and your budget. Whether you handle small repairs yourself or call a professional for larger damage, the key is to act quickly and never ignore signs of water damage.
Contact Liberty GCNY
Website: www.libertygcny.com
Phone: (347) 682-9840
Serving: Manhattan, Brooklyn, Queens, The Bronx, Westchester County, and Long Island.
Address:110-14 178th St, Jamaica, NY