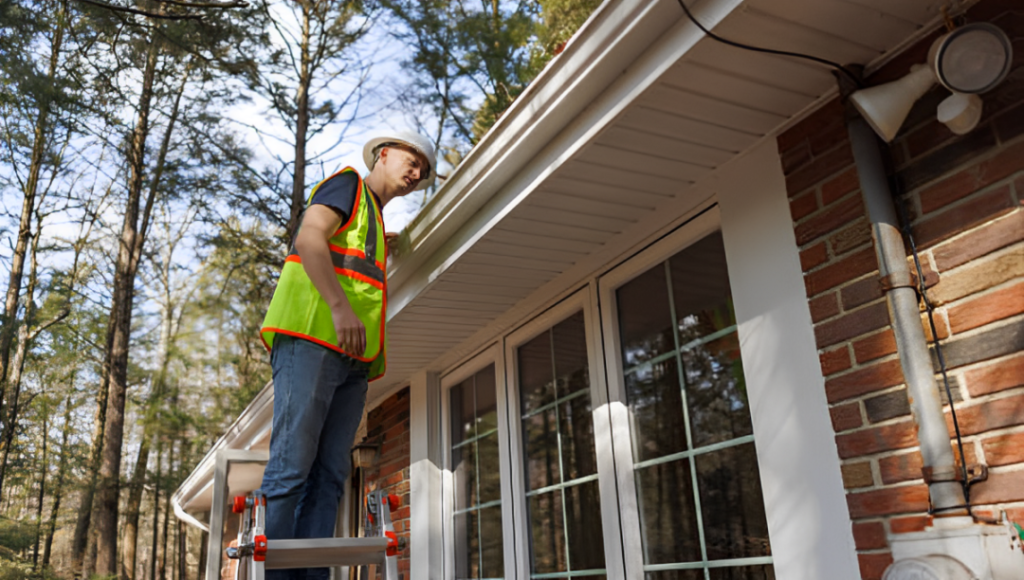
Installing gutters is one of the most important tasks for protecting your home from water damage. If rainwater is not controlled properly, it can damage your roof, walls, foundation, landscaping, and even your basement. Learning how to install gutters yourself not only saves money on professional labor, but also gives you the confidence of doing home improvement work independently.
This simple guide will walk you through everything—from the tools you need to installation steps, safety tips, and maintenance. Whether you are a complete DIY beginner or have some experience, this article will help you understand how to install gutters the right way.
Why Gutters Are Important for Your Home
Before learning how to install gutters, you must understand why they matter:
- Protect Foundation: Gutters direct rainwater away from your house, preventing cracks in the foundation.
- Prevents Basement Flooding: Proper gutter flow reduces water pooling and leakage into the basement.
- Stops Soil Erosion: Gutters guide water into a downspout, keeping your landscaping safe.
- Protects Roof & Walls: Without gutters, overflowing water can damage exterior walls, paint, and roofing.
- Prevents Mold and Rot: Standing water leads to mold, mildew, and wooden structure rot.
Tools & Materials Needed for Gutter Installation
To learn how to install gutters easily, gather all necessary tools first. Here is a list:
| Tools | Materials |
| Tape Measure | Aluminum or Vinyl Gutters |
| Ladder | Downspouts |
| Chalk Line | Gutter Hangers/Brackets |
| Cordless Drill | End Caps |
| Safety Gloves & Glasses | Gutter Connectors |
| Tin Snips | Sealer or Silicone Caulk |
| Hacksaw | Screws & Fasteners |
| Level | Splash Blocks or Drain Extensions |
Tip: Aluminum gutters are lightweight, rust-resistant, and easy to install—perfect for DIY.
Step 1: Plan Your Gutter Layout
Proper planning makes the installation smooth. When planning how to install gutters, note the following:
- Identify Water Flow Direction: Choose where water should flow—usually towards downspouts.
- Measure the Roofline: Measure the length of the roof edge where gutters will be installed.
- Decide Downspout Location: Place downspouts near corners or places where water can drain away from the house.
For long roof edges, slope the gutters slightly to allow smooth water flow.
Step 2: Calculate Gutter Slope
A common mistake when people learn how to install gutters is ignoring the slope. A slight slope ensures water flows to the downspout.
- Recommended slope: ¼ inch decline per 10 feet of gutter
- Mark highest and lowest points using a chalk line
- Use a level to confirm the slope is accurate
This step is important—without correct slope, water will pool inside the gutters rather than flowing.
Step 3: Cut and Prepare the Gutters
Now that you know your measurement and slope, prepare the gutter pieces.
- Use tin snips or a hacksaw to cut gutter sections according to your measurement.
- Attach end caps to the edges of gutters to prevent water leakage.
- If you need to join two gutter sections, use gutter connectors to seal them tightly.
Make sure to apply a waterproof sealant to each joint. This prevents future leakage.
Step 4: Install Gutter Hangers or Brackets
This step provides support to your gutters, so they stay strong during heavy rainfall.
- Install brackets every 2 to 3 feet
- Drill screws into the fascia board securely
- Make sure brackets follow your chalk slope line
If you live in a heavy rainfall or snow area, installing brackets every 2 feet adds extra durability.
Step 5: Attach the Gutter System
Now it’s time to secure the gutter onto the installed brackets.
- Lift the gutter and clip or screw it into the brackets
- Ensure the gutter follows the slope marking
- Confirm that all sections are locked and sealed properly
After installation, run a small amount of water to test the flow.
Step 6: Install Downspouts
Downspouts drain water from the gutter to the ground. Without downspouts, gutters are useless.
Here’s how to install them:
- Cut a Hole: Use a hole saw or tin snips to cut an opening in the gutter for the downspout outlet.
- Attach the Outlet: Fix the outlet to the hole and seal it.
- Connect Downspout Sections: Assemble 2–3 pieces vertically depending on the height of your house.
- Fasten with Straps: Use downspout straps to secure them to the wall every 5–6 feet.
You may add splash blocks or drain extensions at the bottom to direct water further away from the house.
Step 7: Seal and Waterproof Your Gutters
After installation, sealing is essential.
- Apply silicone sealant inside joints, corners, and end caps
- Let it dry for at least 12–24 hours
- Check for gaps or leaks
This strengthens your gutter system and improves water flow efficiency.
Step 8: Test the Gutter System
Once installed, test your gutters by pouring water or waiting for rain.
Check:
- Smooth water flow
- No leaks
- Water drains away from home
- No gutter bending or overflow
If everything works perfectly, your gutter installation is successful.
Maintenance Tips After Installing Gutters
Knowing how to install gutters is not enough—maintenance keeps them long-lasting.
Follow these tips:
- Clean gutters twice a year (spring and fall)
- Remove leaves, debris, or dirt to avoid clogging
- Install gutter guards for less cleaning
- Re-seal joints if you notice minor leaks
- Check brackets and downspouts annually
DIY vs. Hiring a Professional
| DIY Installing Gutters | Hiring a Professional |
| Saves money | Costs more |
| Good for small homes | Better for large or multi-story houses |
| Requires time & effort | Quick and expert installation |
| Risk of mistakes | More accurate and less risk |
If you have basic tools and confidence, DIY works. But if your home is tall or you’re uncomfortable with heights, hire a professional.
Safety Tips When Installing Gutters
Since installing gutters involves ladders and tools, safety is important.
- Always use a stable ladder
- Wear safety gloves and glasses
- Do not install during rain or storms
- Avoid working alone—have someone support the ladder
- Be careful when cutting metal to avoid injury
Common Mistakes to Avoid
Here are some errors beginners make when learning how to install gutters:
- No slope or incorrect slope
- Too few brackets—causes sagging
- Poor sealing of joints leads to leakage
- Downspouts placed too close to the foundation
- Using wrong size gutters for roof size
Avoiding these mistakes ensures your gutter system works perfectly.
Conclusion
Learning how to install gutters is a valuable home improvement skill. With the right tools, preparation, and steps, you can successfully install a gutter system that protects your home from water damage for years.
By following the step-by-step guide above, you now know how to:
- Plan and measure for gutter installation
- Create proper slope
- Install brackets, gutters, and downspouts
- Seal and test the system
- Maintain gutters correctly
Whether you choose DIY or hire a professional, proper gutters are essential for home safety and durability.
Contact Liberty GCNY
Website: www.libertygcny.com
Phone: (347) 682-9840
Serving: Manhattan, Brooklyn, Queens, The Bronx, and Staten Island
Address: 251 N Regent St, Port Chester, NY 10573, United States
Need Help with Your Next Project? Call Liberty GCNY Today!
Fast responses. Expert advice. Trusted service across NYC and beyond.